Java is a popular programming language that is used to build a wide range of applications. Maven is a build automation tool that is often used in Java projects to manage dependencies, compile and test code, and package applications. In this blog post, we will go over the steps to install both Java and Maven on a Mac.
Installing Java on Mac
Download and install the Java Development Kit (JDK):
The Java Development Kit (JDK) is the core component that you need to develop Java applications. You can download the JDK from the Oracle website (https://www.oracle.com/java/technologies/javase-downloads.html). Once you have downloaded the JDK, double-click on the package file and follow the on-screen instructions to install it, or check the link.
Verify the installation:
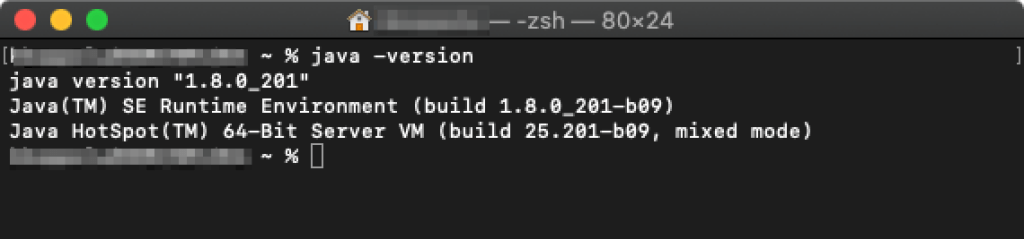
To verify that Java has been installed successfully, open the terminal and run the following command:
java -version
You should see output that shows the version of Java that is installed on your system, like below.
Installing Maven on Mac
Download Maven:
You can download Maven from the Apache Maven website (https://maven.apache.org/download.cgi). Once you have downloaded Maven, unzip the archive and move the unzipped folder to the location where you want to install Maven (e.g., /usr/local/).
Set the environment variables:
To use Maven from the terminal, you need to set the environment variables that point to the location of the Maven installation. You can set the environment variables by adding the following lines to your .bash_profile file:
export M2_HOME=/usr/local/maven
export PATH=$PATH:$M2_HOME/bin
Verify the installation:
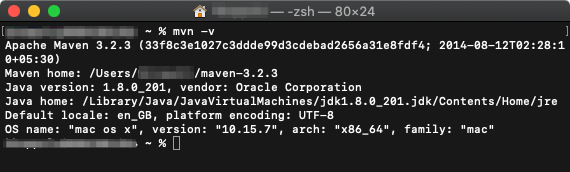
To verify that Maven has been installed successfully, open the terminal and run the following command:
mvn -v
You should see output that shows the version of Maven that is installed on your system, like below.
With these simple steps, you should be able to get both Java and Maven up and running in no time.
Few tips
1) What if you already have Java installed and want to remove / clean previously installed package and start fresh install?.
Check below commands to uninstall Java.
sudo rm -rf /Library/Java/*
sudo rm -rf /Library/PreferencePanes/Java*
sudo rm -rf /Library/Internet\ Plug-Ins/Java*
**You should know what these commands are doing, i.e, removing / uninstalling Java.
You can also check link for uninstall – https://docs.oracle.com/javase/10/install/installation-jdk-and-jre-macos.htm#JSJIG-GUID-577CEA7C-E51C-416D-B9C6-B1469F45AC78
2) What if I want to install legacy version of Java?.
You can download legacy (old / archive) version of Java from different location. Say for example I want to install Java 8, for this I will download JDK from https://www.oracle.com/in/java/technologies/javase/javase8-archive-downloads.html
From here I would download jdk-8u201-macosx-x64.dmg and install Java.
Note: JDK comes bundled with JRE, so no need to download JRE again.
3) How to set JAVA_HOME env variable?
Sometimes env variables don’t work or not set properly, in that case you can do that yourself. Open bash file (vim ~/.zshrc) and add below line.
export JAVA_HOME=/Library/Java/JavaVirtualMachines/jdk1.8.0_201.jdk/Contents/Home
Test with command – echo $JAVA_HOME on the terminal. You should see the output showing the JAVA_HOME env variable value.
