Before we start with the steps to configure eslint and prettier I would encourage readers to spend sometime to know about these and why we need them. Check below links for the reads.
Lets start, goto the angular project on the terminal and follow below steps.
Step 1
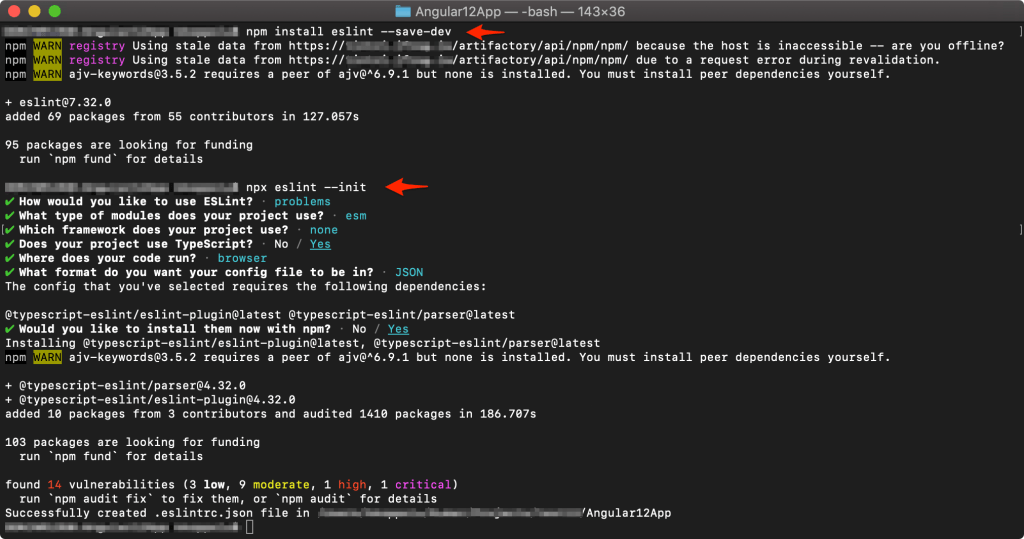
npm install eslint --save-dev
Above command installs the eslint dev-dependency for the project.
Step 2
npx eslint --init
Above command is going to configure the angular project with eslint. Creates the configuration file called .eslintrc.json. See below screenshot for the process.
Step 3
Now we need to add two eslint plugins to make it work with angular project and also make the right configuration for eslint and prettier so they do not clash with one another and work seamlessly.
npm install eslint-config-prettier eslint-plugin-prettier prettier --save-dev
Above command installs the two plugins and also installs prettier. Feel free to read about the two plugins. Add the plugin config to the eslint config file (.eslintrc.json).
"extends": [
        "eslint:recommended",
        "plugin:@typescript-eslint/recommended",
        "plugin:prettier/recommended"
    ],
Step 4
Create .prettierrc.json (config file for prettier) and add below code.
{
  "tabWidth": 4,
  "singleQuote": true,
  "trailingComma": "es5"
}
eslint and prettier setup is complete, now lets add few scripts to package.json.
"lint": "eslint .",
"lint:fix": "eslint --fix",
"format": "prettier --write './**/*.{js,jsx,ts,tsx,css,md,json,html}' --config ./.prettierrc.json"
Go ahead and try these commands…format script will parse the code, fixes eslint issues along with prettier so they do not conflict with each other, this is what we want right!!.
Few assumptions:
- You are angular developer.
- You are quite good at using node and npm.
- You already have angular application ready to setup eslint and prettier.
Check out Github repo for complete code.

One thought on “Setup eslint and prettier in angular app.”